
Photography workflows
LightCraft: RAW Photo Editing, Camera Support, and AI References
LightCraft is a local photo library and RAW developer from the ArtCraft team. Test the exact camera and compression mode, then keep photographic development separate from generative changes.
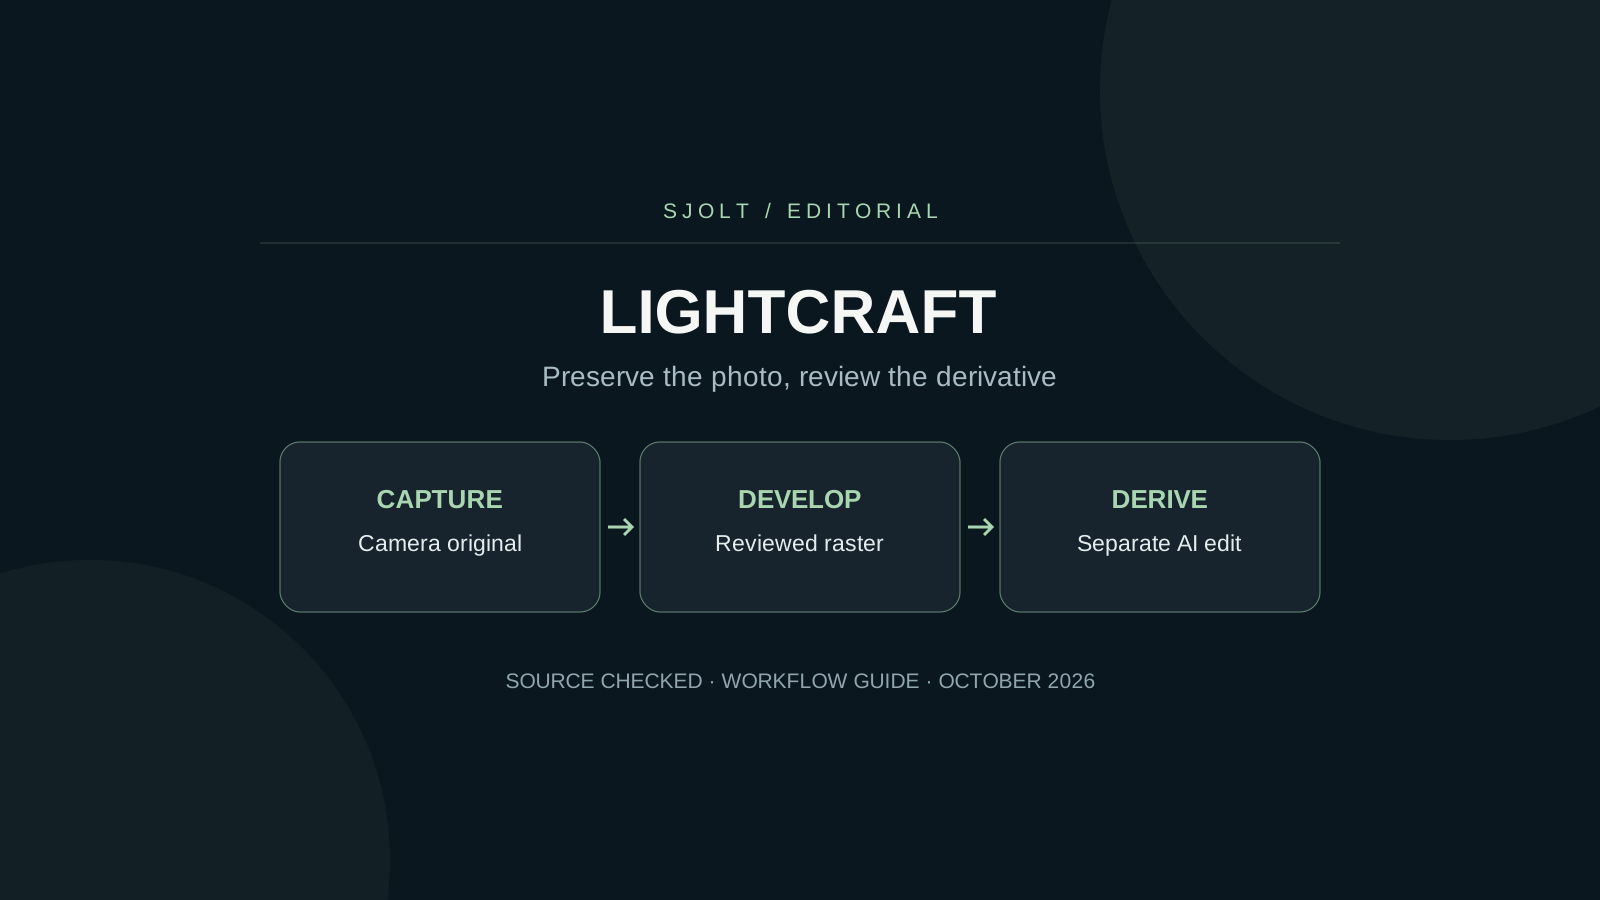
The LightCraft project covered here is storytold/lightcraft, a local photo library and RAW developer from the ArtCraft team. Its official product page identifies it as a photography application. That identity matters when a broad search result describes a similarly named AI or video tool.
For a photographer, the first question is whether the app develops the actual sensor data from your camera file or displays an embedded preview. The second is whether its rendering and export fit your intended use. Test both before moving a working library.
Start from the photography project
The repository describes non-destructive adjustments, photo organization, and local operation. Its library tools and RAW pipeline are different from a hosted model that generates a new image. A successful photograph edit should be judged by the source detail, color, and output requirements you intend to preserve.
Choose a small test set from your own camera: one daylight frame, one high-contrast scene, one low-light shot, and one image containing a familiar neutral or product color. Include the actual compression mode used on the job. Two files with the same extension can exercise different decoder paths.
An opened RAW file is not proof of sensor decoding
LightCraft’s RAW parity matrix checked on October 16 distinguishes verified sensor decoding, unverified variants, and preview-only paths. It now reports verification for 26 Canon CR3 bodies, with specific files behind the claim, rather than only the earlier M50, R100, R8 and R5 Mark II coverage. Rare CRX variants can still fall back to a preview. Nikon High Efficiency / HE★ NEF remains preview-only; the new sweep specifically limits its D6, Z 6 and Z 7 evidence to compressed NEF. Match the camera and recording setting to the evidence, not just the brand name.
Recent camera-specific notes also matter: the RAW assessment describes a CR2 white-level fix that excludes saturated masked rows, and a measured Nikon D90 image-area correction for a pink border. If either symptom affects your files, compare the same original in the installed build and a trusted renderer before compensating with exposure or crop settings. These are project-documented corrections, not sensor tests performed by SJolt.
The expanded camera sweep pins source files and sensor-output hashes, but the document explicitly separates successful sensor decoding from color parity. It also records phone and drone DNGs that decode while rendering darker than their camera JPEG. For an AI reference, first compare the developed photograph with the intended product color and exposure. Do not compensate for a rendering mismatch by asking an image model to guess the original appearance.
| What to establish | Why it changes the result | Useful evidence |
|---|---|---|
| Camera model and compression setting | Different variants may take different paths. | Original file and capture settings. |
| Sensor data or embedded preview | A preview has already been rendered in camera. | Decoder status, warnings, and documented support. |
| Color interpretation | Decoding and camera calibration are separate. | A known neutral and a trusted reference rendering. |
| Export dimensions and depth | The delivery file may lose information. | Properties of the reopened export. |
Do not infer RAW recovery from a bright-looking thumbnail. Move exposure carefully and inspect highlights, edges, and noise at full size. Compare the output with a trusted rendering of the same original. This is an acceptance test you perform; it is not a benchmark result established by this article.
Keep a written note when the app is using a preview. That image may still be useful for culling or a rough composition, but it cannot demonstrate that all sensor information is available for further development.
Separate a fast network preview from a developed RAW
LightCraft’s preview documentation checked on October 15 describes a header-located embedded JPEG and a sparse plan for selected CR3 and TIFF-based RAW previews. The plan now carries container-declared Adobe RGB into preview decoding, so that metadata alone no longer forces the whole-file route. Unreadable container orientation, unsupported plans and over-budget reads can still fall back to the whole file. Developing the photograph remains a separate sensor-data operation.
The documentation also warns that reduced bytes read do not mean an equally small memory allocation. The sparse buffer has the file’s logical length, and the loader’s memory gate counts the whole file. For a network library, record transfer volume, peak memory, and orientation/color fidelity separately; a quicker thumbnail is not proof that large-library memory pressure has disappeared.
The grid and loupe stand-in can now choose the smallest embedded JPEG that covers the requested display size. The documented picker checks shape and color-component consistency against the largest preview; editing fallbacks and camera-look fitting still use the largest JPEG. If a quick preview cannot be read, the thumbnail job falls back to rendering the RAW. Test browsing, a zoomed view and the developed export separately rather than expecting all three to use the same source pixels.
For a library on a network share, evaluate browsing and development separately. Open an unedited image, then apply an adjustment and wait for the developed result. Do not infer sensor-decoding speed or final color from the first preview. The project reports measurements on its own files and network; those are not a benchmark of your storage or camera.
Before exporting an AI reference, confirm that you are exporting the developed photograph you approved, with the intended crop and adjustments. A quick embedded preview is useful for selection, but it should not silently become the reference for a color or detail decision.
Check camera color separately from file support
The RAW parity assessment explains that some camera-color estimates are derived from the file’s embedded JPEG. It distinguishes those estimates from measured calibration and notes fallback behavior. Examine the colors you actually need, especially a product’s finish or skin tone under difficult light.
Start with a modest white-balance and exposure adjustment. Keep the same display conditions for comparisons and avoid judging a thumbnail next to a full-resolution image. If a material shifts color, isolate whether the issue appears on import, after an adjustment, or only after export. That sequence narrows the cause more effectively than changing several controls at once.
Keep a conservative developed master. You can make a more stylized version later without losing the baseline used to judge product accuracy. For a client review, label these versions clearly so a dramatic grade is not mistaken for the faithful reference.
Verify optional AI features in the installed build
The October 11 source review finds the README now explicitly marking Bayer AI denoising as in progress with user-installed weights, consistent with the broader development notes. Subject and sky selection are still described as classical heuristics. Separate Object / Describe masks have their own optional-model requirements; one feature’s status should not be generalized to every selection tool.
Record the application version and which optional assets were installed before comparing results. Test one feature on a duplicate image, check its supported input type, and reopen the saved result. If a required asset is unavailable, continue with the documented manual controls rather than promising an automatic equivalent.
The practical outcome is a predictable photo workflow. You do not need to turn on every experimental feature to select a frame, set a crop, or prepare a reference. Evaluate optional processing only when it solves an observed problem in the source.
Prepare a separate raster reference for SJolt
A generative edit is useful when you want a new backdrop or a concept derived from the photograph. Develop and export a clear reference first. SJolt’s Nano Banana 2.1 image-edit route accepts public PNG, JPEG, or WebP image URLs; it does not accept a LightCraft library or a camera RAW file as that reference input.
Image 1 shows the real product.
Keep its outline, material, proportions, and label unchanged.
Replace only the setting with a pale studio background.
Keep the full object visible in a 4:5 composition.
Do not add text or invent product details.
The prompt describes desired preservation; it cannot guarantee unchanged pixels. Inspect the returned image against the developed reference, especially labels, fine edges, and reflective surfaces. Store it as a generated derivative alongside the original photo, with the prompt and task ID. Do not overwrite the photographic master with a result that changes the scene.
For ordinary exposure or crop correction, stay in the photo editor. For a creative scene variation, a separate image-generation step can be appropriate. This file handoff is not a built-in LightCraft integration, and it does not turn generated imagery into evidence of a real scene.
Review selected references in a contact sheet
The README now documents File → Contact Sheet PDF in the native app, with a CLI counterpart. It exports current edits into paginated A4 or Letter sheets at 150 dpi in sRGB, fitting each image without an additional crop. This is a review aid; it does not replace a full-resolution developed master or a printer layout application.
Use a contact sheet to choose which photographic references will guide a generative edit. Enable filename captions and record the chosen filenames in the brief. Inspect the selected originals at full size before upload: the contact-sheet thumbnail is useful for selection, but too small to validate label text, focus, or edge detail.
Keep the sheet and the developed references from the same revision. If you later change a crop or color treatment, export a new review sheet so the person approving references is looking at the files that will actually be used.
The current README separately documents File → Print with Single Image, Contact Sheet, Picture Package and Custom Package layouts, plus background PDF rendering. That is a different path from the fixed contact-sheet export above. Printer color management and page overlays such as watermarks and page numbers are still listed as missing.
For a multi-size reference pack, make a small Print layout and inspect the PDF’s page dimensions, crop and rotation before sharing it. Keep a filename-to-image record outside the page if the required overlay is unavailable. A layout that fits on paper does not establish a color-managed print or replace the full-resolution reference sent to the generation service.
Adopt the workflow only after a reopen test
Save the test library, reopen it, and verify that originals, adjustments, and exports are where you expect them. Repeat the export check on the exact file type required by the next editor. Once those checks pass, expand to a representative folder before considering a larger migration.
No LightCraft binary, camera decoder, or optional model was executed for this guide. The sources establish documented scope and limitations; your own files establish whether the current build meets your photographic requirements.
Sources & further reading
Take the next idea into production.
Explore the models, test a workflow in the playground, and use the same request in your application.